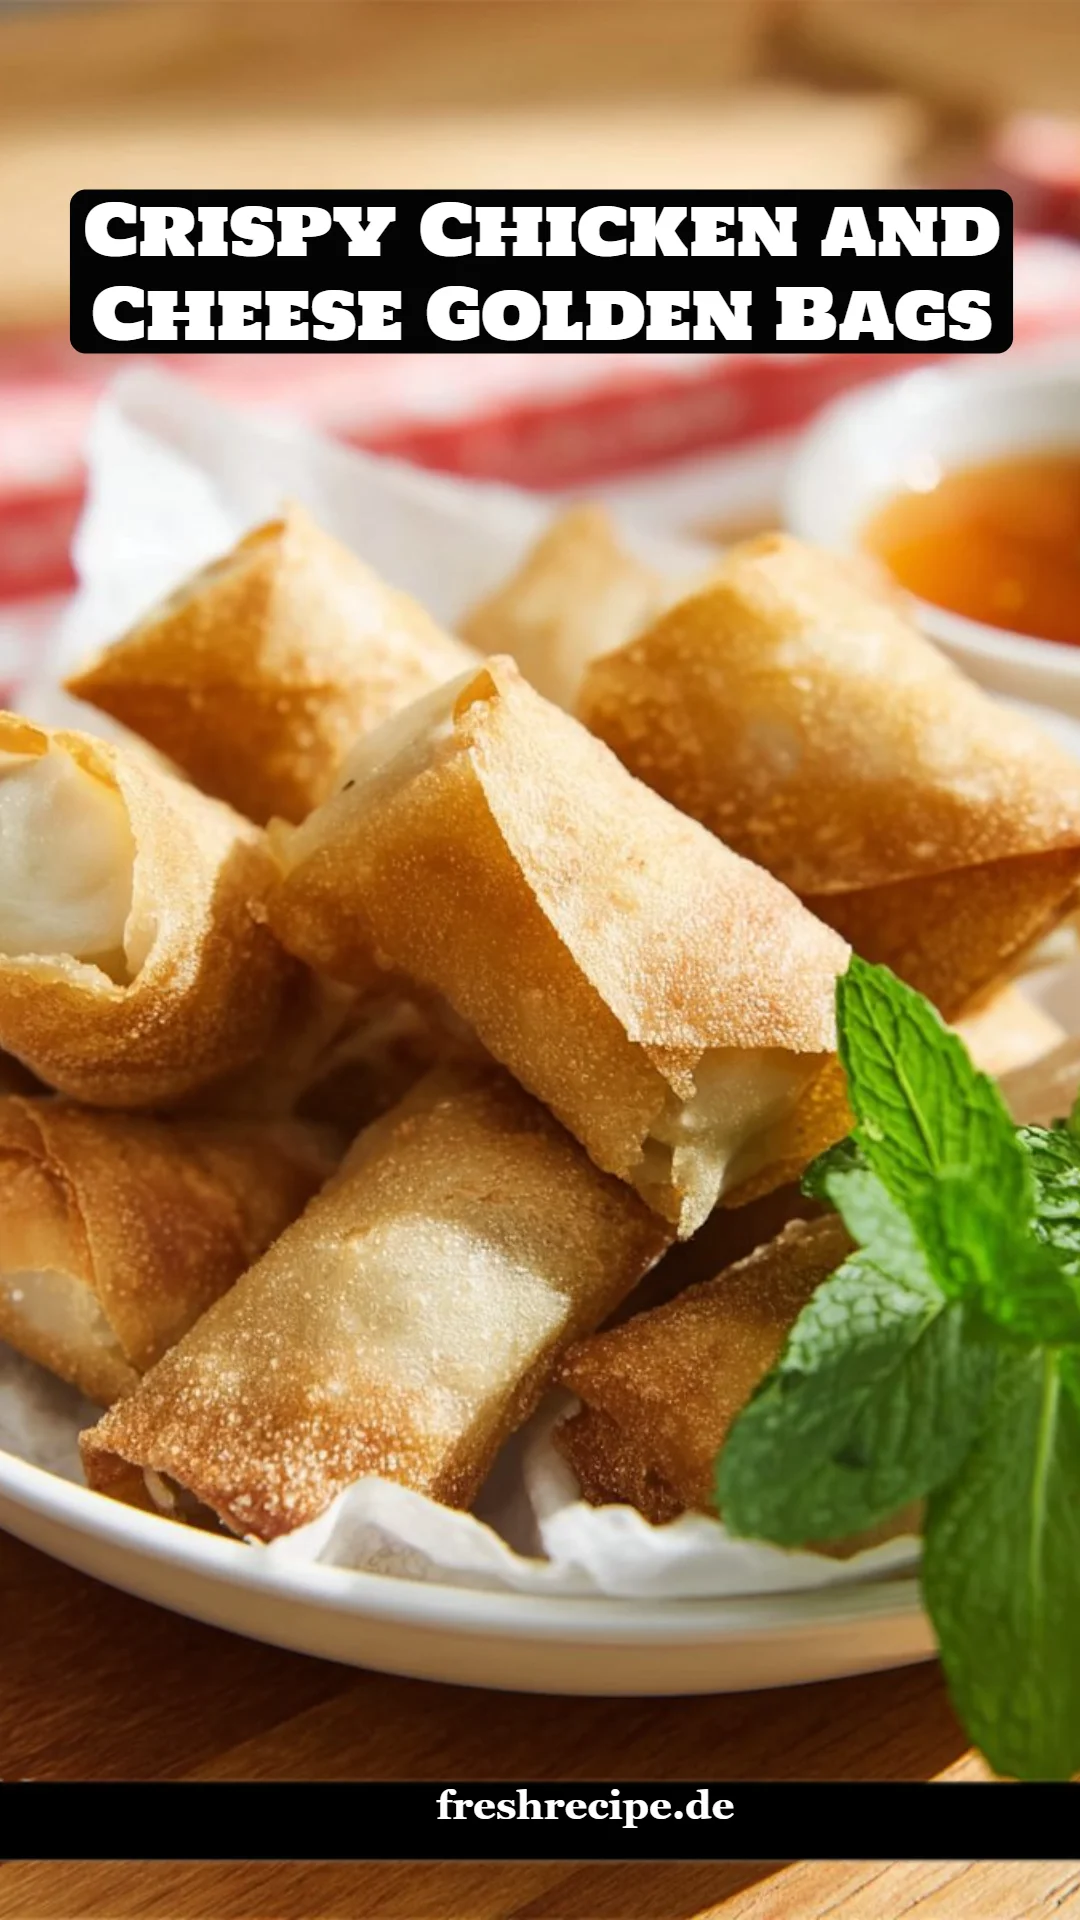
Crispy Chicken and Cheese Golden Bags: Irresistible Deliciousness in Every Bite
Some of my fondest childhood memories revolve around the kitchen—particularly the lovely aroma that filled our home whenever we made Crispy Chicken and Cheese Golden Bags. I can still picture my mom expertly wrapping these savory delights, her laughter filling the air as she taught me how to pinch the dough just right. These golden bags are more than just a recipe; they represent comfort food for my family, a quick snack enjoyed after school, or an indulgent treat during movie nights.
What makes these delightful packets truly special is their satisfying crunch followed by a mouthwatering explosion of flavors—the tender chicken perfect against the creamy cheese—and the ease with which they can be made at home. Unlike store-bought varieties that often skim on flavor and quality, this recipe allows you to customize every bite. Plus, they’re versatile enough to suit any occasion, from casual gatherings to gourmet dinner parties.
So roll up your sleeves and get ready to unleash your culinary creativity! In this post, you’ll learn not just how to make these Crispy Chicken and Cheese Golden Bags but also some essential cooking tips to guarantee they come out perfect every time.
What Are Crispy Chicken and Cheese Golden Bags?
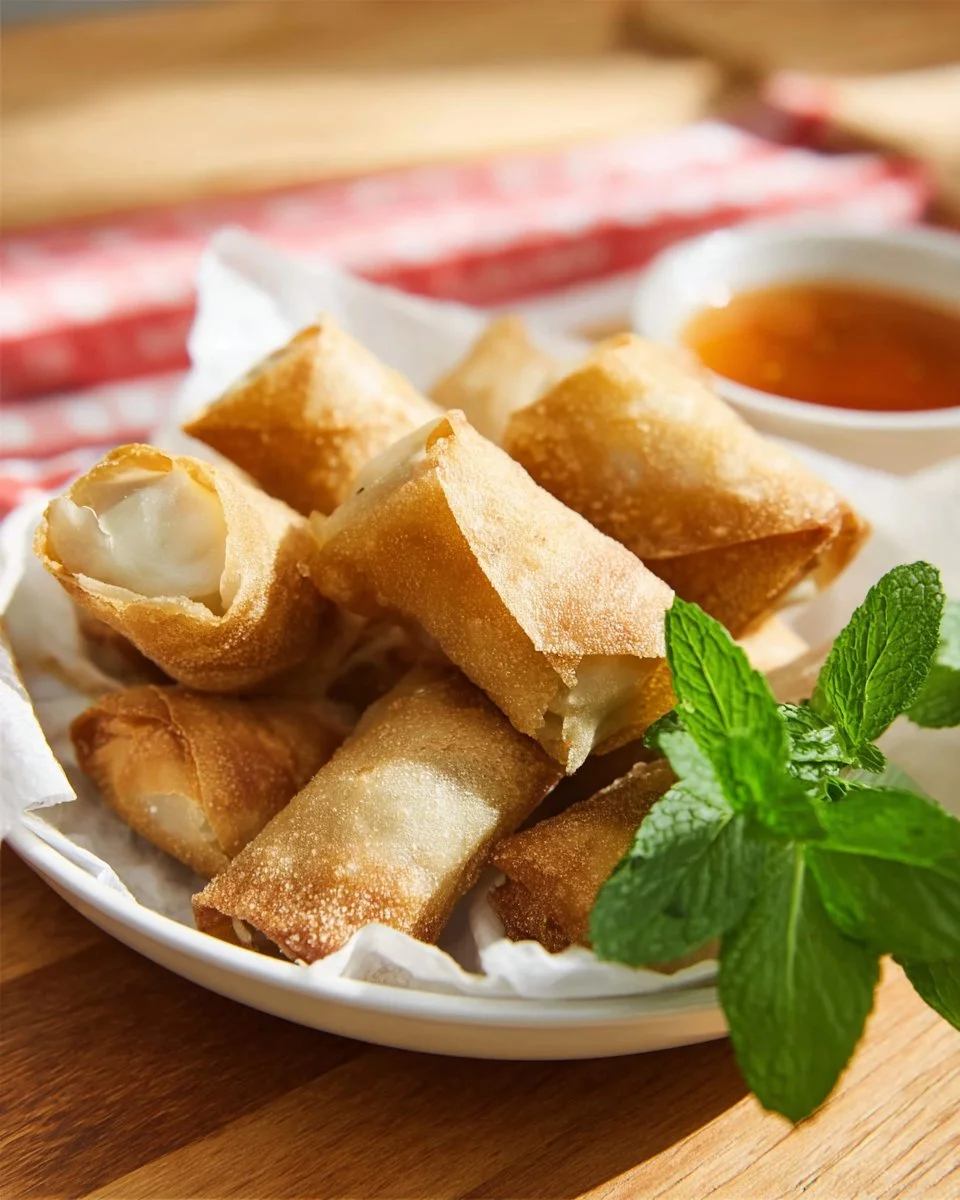
Crispy Chicken and Cheese Golden Bags are a delightful fusion of flavors and textures, originating from traditional Asian cuisine. They bring together tender chicken, aromatic spices, and gooey cheese wrapped snugly in crispy spring roll wrappers. The combination of crunch, savory filling, and rich dairy creates a mouthwatering experience you’ll want to relish in every bite!
These golden bags have a beautifully golden exterior, achieved through frying until they reach crunchy perfection. When you cut one open, you’ll be greeted by the steam and the tantalizing scent of the spiced chicken mingling with melted cheese. They stand out not just for their flavor but also for their versatility—perfect as appetizers, snacks, or even finger food at parties.
Make them when you want to impress guests, during a cozy night in, or simply when craving something delicious. Trust me, once you try your hand at these tasty bags, they’re sure to find a special place in your culinary repertoire.
Why You’ll Love This Recipe
Freshness Over Freezer Aisles: While store-bought crispy snacks might tempt you, nothing compares to the freshness of homemade Crispy Chicken and Cheese Golden Bags. You know exactly what goes into them—high-quality ingredients that you choose personally.
Budget-Friendly: This recipe utilizes simple, budget-friendly ingredients, making it a cost-effective alternative to dining out or buying snacks from gourmet stores. You’ll pinch pennies while still enjoying gourmet flavors.
Customization Galore: You can easily adapt this recipe to suit your taste preferences! Swap the chicken for turkey, try different cheeses, or even throw in vegetables if you’re craving some greens. The options are practically endless.
Simple Steps, Stunning Results: Don’t let the golden color fool you; these bags are simple to prepare! Even if you’re a kitchen novice, you’ll be able to master this recipe in no time.
Quick and Satisfying: Perfect for when hunger strikes, these golden delights come together in about an hour, making them an ideal last-minute snack or appetizer for gatherings.
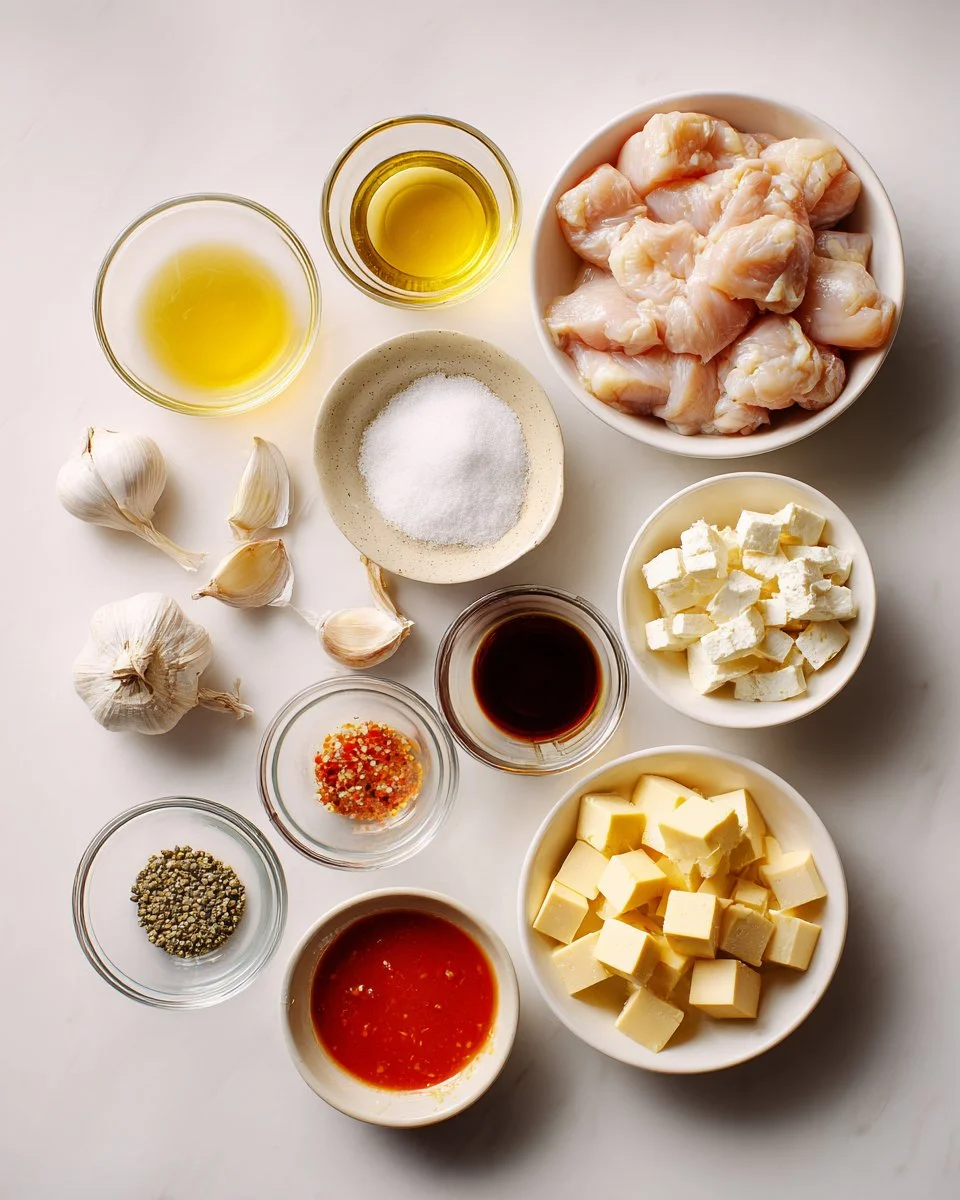
Ingredients Section
For the Filling:
- 300g boneless, skinless chicken thighs, cut into small pieces. Opt for organic if possible for better taste.
- 4 cloves garlic, minced. Fresh is best—don’t skimp on the flavor!
- 1/4 tsp white peppercorns. Adds a subtle warmth.
- 1/4 tsp black peppercorns. For that necessary bite.
- 1 ½ tsp coriander seeds. Toast them for more pronounced flavor!
- 2 tsp fish sauce. Adds depth; feel free to substitute with soy sauce for a vegetarian version.
- 1 Tbsp soy sauce. Brings out the umami element.
- 1 tsp sugar. Balances out the savory flavors nicely.
- 1 egg. Acts as a binding agent for the filling.
- 2 tsp cornstarch or tapioca starch. Helps the mix hold its shape.
- About 40 pieces of goat cheese, cut into 1/4-inch cubes (or try mozzarella or cheddar). The cheese choice dramatically impacts the taste!
For the Wrappers:
- 10 sheets of 8-inch spring roll wrappers. Keep them covered with a damp cloth to avoid drying out.
- Oil for frying. Use high smoke point oils like vegetable or canola oil for best results.
For Serving:
- Sriracha or sweet chili dipping sauce. You can never go wrong with this delightful addition!
Make sure your ingredients are at room temperature for effective mixing and better incorporation.
Step-by-Step Instructions
Toast the Spices: Start by toasting the coriander seeds in a dry pan over medium-high heat until aromatic—about 2 minutes. Remove from heat and cool slightly.
Prep the Cheese: While the spices cool, place your cheese cubes in the freezer for about 15 minutes. This helps keep them intact during frying!
Make the Spice Paste: Using a mortar and pestle, grind the white and black peppercorns and coriander seeds into a fine powder. Add the minced garlic cloves and pound into a smooth paste.
Blend the Filling: In a food processor, combine the chicken, garlic spice paste, egg, cornstarch, soy sauce, fish sauce, and sugar. Process until the mixture is thick enough to hold its shape—around 1-2 minutes.
Cut the Wrappers: Grab your spring roll wrappers and cut them into quarters using a sharp knife. This gives you perfect little pockets for the filling.
Fill and Fold: Scoop about 1 tablespoon of the chicken mixture into the center of each wrapper, placing a piece of cheese inside. Fold the wrapper over the filling, pinching the corners upward to create a purse shape.
Heat the Oil: Pour oil into a deep frying pan and heat it to 350°F (175°C). Use a thermometer for precision! You want the oil hot enough to make the bags crispy without absorbing too much oil.
Fry Until Golden: In small batches, fry the bags until they’re golden and crispy, about 1-1.5 minutes on each side. Keep a close eye on them!
Drain and Serve: Using a slotted spoon, remove the bags and place them on paper towels to drain any excess oil. Serve them hot with your favorite dipping sauce.
Chef’s Tip: Fry in small batches to ensure that the oil temperature stays consistent!
Expert Tips & Tricks
Store the Leftovers: Leftover bags can be stored in the refrigerator for up to 2 days. For optimal results, reheat in an oven preheated to 375°F (190°C) for about 10-15 minutes to regain crispiness.
Make Ahead: You can prepare the chicken filling a day in advance. Just store it in the refrigerator and assemble the bags before frying.
Common Issues: If your bags burst during frying, they may have been overstuffed. Aim for about 1 tablespoon of filling per wrapper.
Change It Up: Try adding spices like smoked paprika or chili flakes to bring heat to your filling.
Vegetarian Option: Substitute chicken with crumbled tofu or a mix of your favorite vegetables (think bell peppers, carrots, and peas) seasoned the same way.
Serving Suggestions
These Crispy Chicken and Cheese Golden Bags shine as a standalone snack, but for a full feast, consider pairing them with a fresh green salad and a tangy vinaigrette. For a lovely presentation, serve them on a beautiful platter with a small bowl of Sriracha or sweet chili sauce for dipping.
These golden delights are perfect for anything from casual get-togethers to more formal gatherings, making them a versatile choice for any occasion.
Variations & Substitutions
Different Flavor Combinations: Try swapping the cheese for a mix of ricotta and spinach for a lighter twist. You can also spice things up with jalapeños or hot sauce in the chicken filling!
Dietary Restrictions: Opt for gluten-free spring roll wrappers and ensure your fish sauce is gluten-free if needed.
Seasonal Treats: In winter, add a hint of nutmeg to the filling, or during the summer, incorporate fresh herbs like basil or cilantro for a more refreshing profile.
Nutrition & Storage Info
- Prep Time: 30 minutes
- Cook Time: 15 minutes
- Total Time: 45 minutes
- Yield: Approximately 25-30 golden bags
- Estimated Calories per Serving: 120 calories (1 bag)
Storage Instructions:
- Room Temperature: Best eaten fresh but can be left out for about 1 hour if serving at room temperature.
- Refrigerator: Store in an airtight container for up to 2 days.
- Freezer: Freeze uncooked bags for up to a month. Fry straight from the freezer, increasing cooking time slightly.
FAQ Section
Can I use other types of meat?
Yes! This recipe works well with ground pork, turkey, or even shrimp.What if I don’t have spring roll wrappers?
You can use wonton wrappers or even puff pastry in a pinch, but cooking times may vary.Can I bake these instead?
Absolutely! Brush them lightly with oil and bake at 400°F (200°C) for about 20 minutes, flipping halfway.How do I make these less spicy?
Reduce or omit the black pepper and use milder cheese options.What can I serve these with?
Consider pairing them with a side salad, or serve them at parties with a variety of dips.How can I make these a bit healthier?
Opt for air frying instead of deep frying or bake them to cut down on oil.What can I do if they’re soggy?
Make sure the oil is hot enough before frying and avoid overcrowding the pan.Are these kid-friendly?
They’re usually a hit with kids! Feel free to adjust seasonings to cater to younger taste buds.Can I use any cheese?
Definitely! Experiment with mozzarella, cheddar, or even a mixed cheese blend for different flavors.Do I need to season the chicken beforehand?
The added soy and spice paste provide plenty of flavor, but feel free to taste and adjust according to preference!

Conclusion
These Crispy Chicken and Cheese Golden Bags are a delightful addition to your culinary repertoire, bringing together fantastic flavor, crunch, and memories in every bite. As you whip up this recipe, I hope you embrace the joy of cooking and create new moments that you’ll cherish for years to come.
I would love to hear about your experiences! Please feel free to share any feedback in the comments below. And don’t forget to explore other fantastic recipes on the blog that cater to all your culinary cravings! Happy cooking!

Crispy Chicken and Cheese Golden Bags
Ingredients
Method
- Toast the spices: Start by toasting the coriander seeds in a dry pan over medium-high heat for about 2 minutes, then remove from heat and cool slightly.
- Prep the cheese: Place your cheese cubes in the freezer for about 15 minutes to keep them intact during frying.
- Make the spice paste: Grind the white and black peppercorns and coriander seeds into a fine powder using a mortar and pestle, then add minced garlic and pound into a smooth paste.
- Blend the filling: In a food processor, combine chicken, garlic spice paste, egg, cornstarch, soy sauce, fish sauce, and sugar, then process until thick enough to hold its shape (about 1-2 minutes).
- Cut the wrappers: Cut spring roll wrappers into quarters using a sharp knife.
- Fill and fold: Scoop about 1 tablespoon of the chicken mixture into the center of each wrapper, place a piece of cheese inside, then fold and pinch corners upward to create a purse shape.
- Heat the oil: Pour oil into a deep frying pan and heat to 350°F (175°C).
- Fry until golden: In batches, fry the bags until golden and crispy, about 1-1.5 minutes on each side.
- Drain and serve: Remove bags with a slotted spoon and place on paper towels to drain excess oil. Serve hot with dipping sauce.