
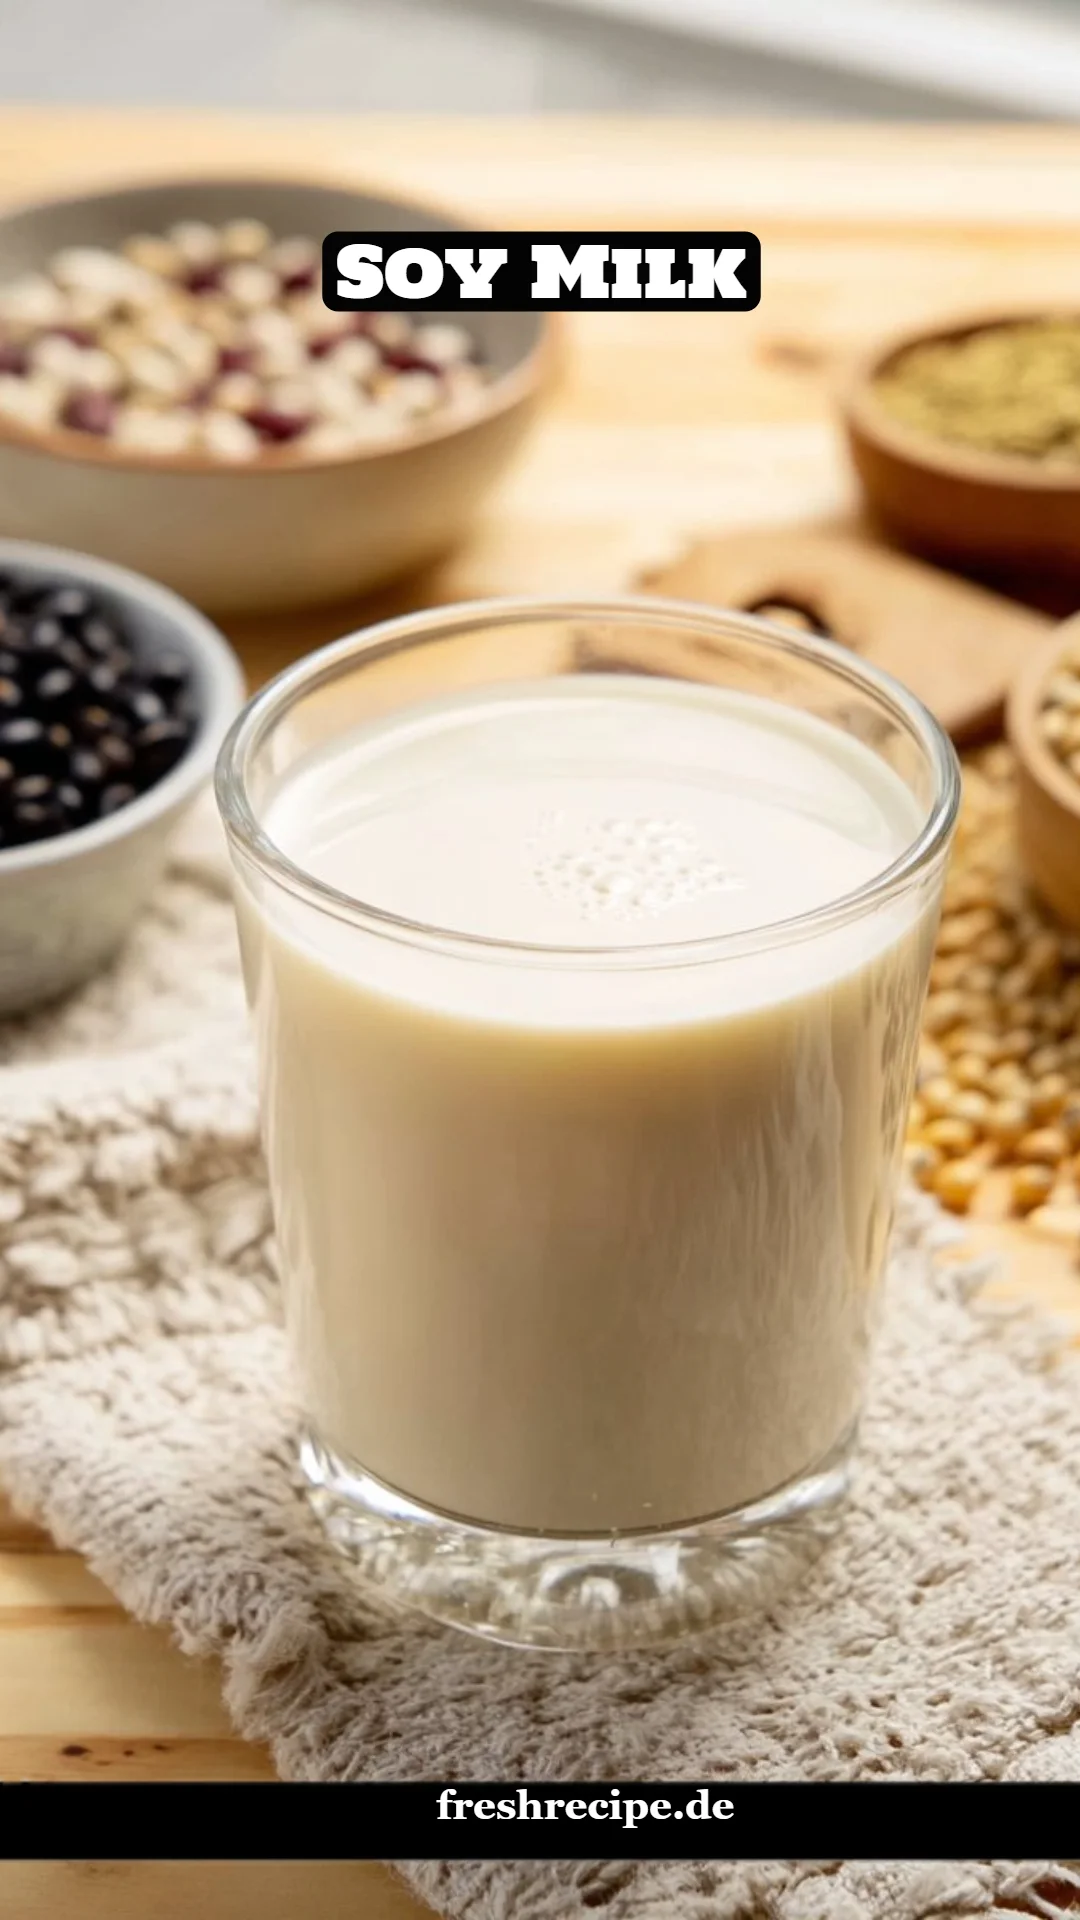
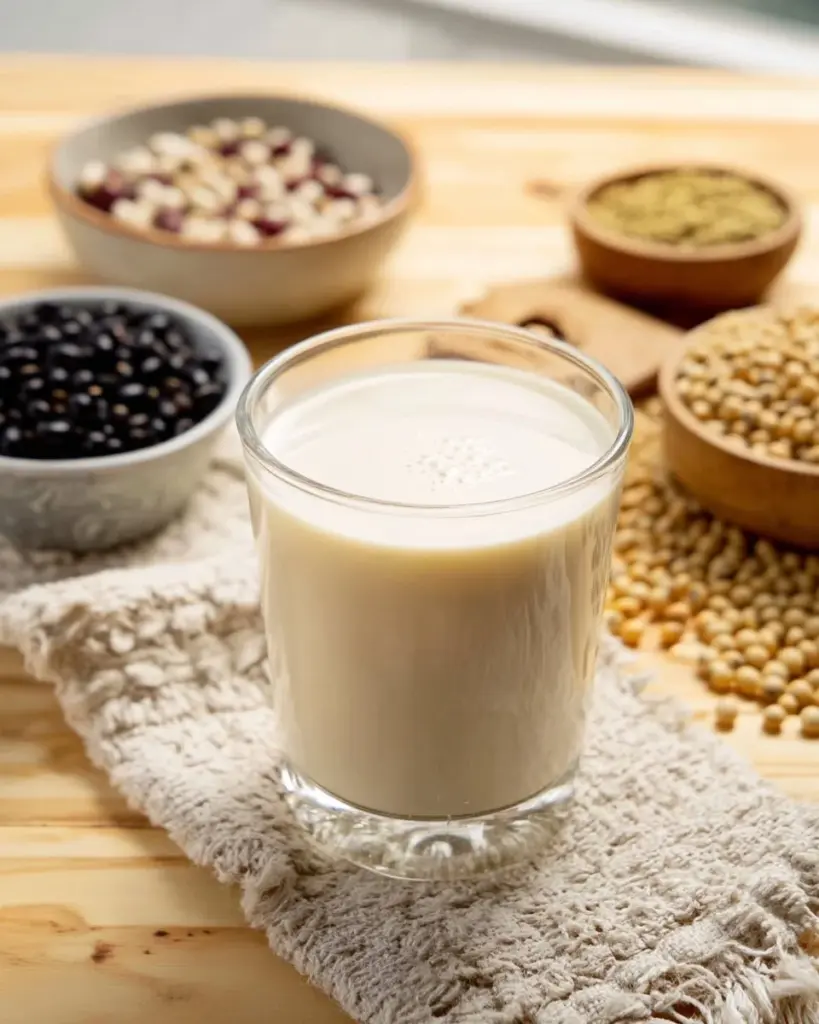
Discover the Creamy Delight of Homemade Soy Milk!
Have you ever stood in the grocery aisle, torn between the brightly colored cartons of soy milk, trying to choose the best one? I’ve been there too. It wasn’t until I tried making my own soy milk that I realized the magic that happens when you transform simple soybeans into a creamy, delicious, and nutritious drink.
Growing up in a family that valued homemade delights, soy milk was a staple in our household, especially during family gatherings. My mom would whip up a batch, and we’d enjoy it warm, with tiny flecks of pandan leaf for an aromatic twist. The nostalgia attached to that comforting drink makes this recipe particularly special. It’s not just about making soy milk; it’s about reliving those cherished moments and creating new memories with family and friends.
This homemade version surpasses anything you can find in stores, offering a fresher taste without artificial additives. In this recipe, I promise you’ll learn how to craft your own silky soy milk from scratch, exploring the perfect blend of flavors and textures, and maybe even thrilling your loved ones with your newfound skill!
What Are Soy Milk?
Soy milk, or "soybean milk," dates back centuries to ancient China. Traditionally, it was made by soaking, grinding, and boiling soybeans. The result? An incredibly delicious and nutritious dairy alternative that has become popular around the globe.
This plant-based beverage boasts a creamy texture that’s perfect for enjoying on its own, pouring over cereal, or adding to smoothies. Homemade soy milk tends to be richer and fresher compared to its store-bought counterparts, which may contain preservatives or additional flavors.
Whether you’re lactose intolerant, vegan, or just on a quest for healthier alternatives, soy milk provides a revitalizing and satisfying drink that you can customize to your heart’s content! Plus, it’s an excellent source of protein, making it a great addition to your diet.
Why You’ll Love This Recipe
Flavor Explosion: Homemade soy milk is a flavor revelation compared to anything from a carton. The richness and creaminess you achieve are unparalleled, especially when you incorporate a fragrant pandan leaf during cooking.
Cost-Effective: With just 150 grams of dry soybeans, you’ll yield about 1.2 liters (or 5 cups) of soy milk, which is significantly cheaper than buying multiple cartons at the store.
Customization Galore: One of the best parts? You can customize your soy milk. Whether you want it lightly sweetened, infused with vanilla, or even mixed with seasonal fruits or nuts, the possibilities are endless!
Simple & Rewarding: Don’t worry if you’re not an expert in the kitchen. This recipe is easy to follow, doesn’t require any fancy equipment, and offers a rewarding experience that will make you feel like a culinary pro.
Healthier Choice: You have complete control over the ingredients. No additives, minimal sugars, and the option to add nutritious ingredients like cooked mung beans or red beans for a delightful twist!
Ingredients Section
Ingredients:
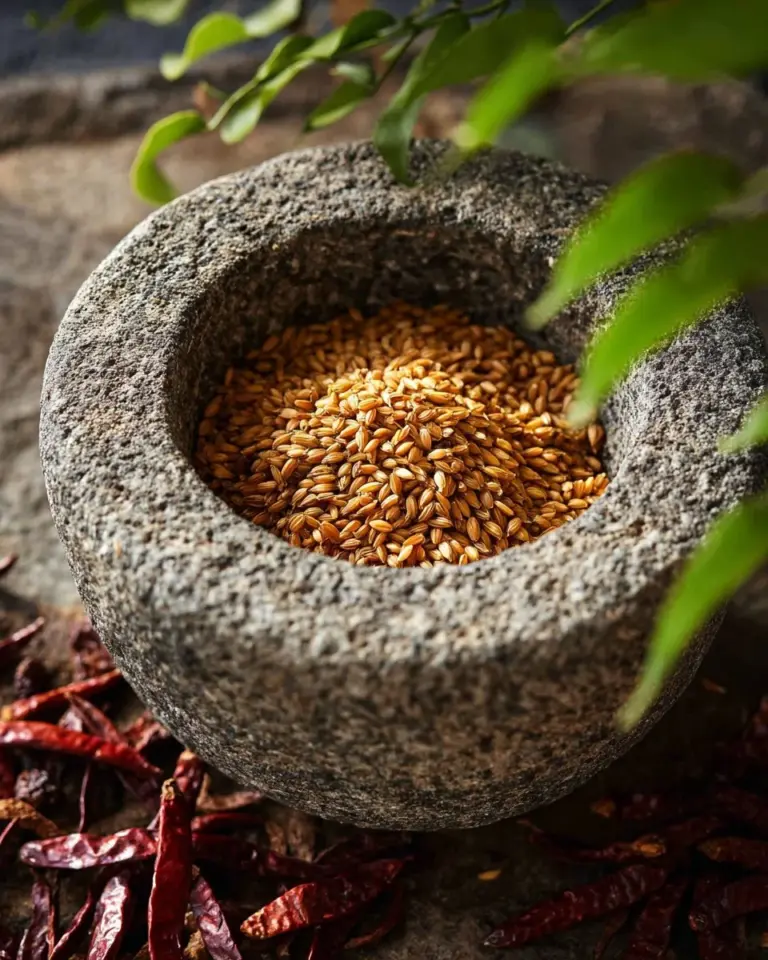
- 150 grams dry soybeans: Look for high-quality organic soybeans for the best flavor and nutrition.
- 1.2 L (5 cups) water: Filtered water is preferable.
- 1/2 pandan leaf (optional): Adds an aromatic element—perfect for a more exotic flavor!
- A pinch of salt (optional): Enhances the overall taste.
- Sugar or other sweeteners to taste: Experiment with natural sweeteners like agave or maple syrup.
- Add-ins for the fun factor: Try cooked red beans, cooked mung beans, cooked job’s tears, rehydrated lemon basil seeds, cooked tapioca pearls, plain agar agar cubes, cooked ginkgo nuts, or young coconut meat!
Prep Notes: Always soak the soybeans before starting. If you plan to use whole beans, soak them in cool water for at least 8 hours (or overnight). Split beans only need 3 hours!
Step-by-Step Instructions
Rinse and Soak: Rinse your soybeans thoroughly under cold water. Soak whole beans in a large bowl of water for at least 8 hours, or split beans for about 3 hours. This softening process is crucial for achieving the smoothest soy milk.
Remove Skins (Optional): If you’re using whole beans, you can get rid of some of the skins. Just scrunch the soaked beans in water to loosen the skins and make your soy milk even creamier.
Blend the Beans: Drain and rinse your soaked soybeans. In a blender, combine the beans with just enough water to cover them. Blend until smooth and creamy, adding more water as necessary until it achieves a smooth consistency—think creamy soup!
Strain the Mixture: Set up a sieve or colander lined with muslin over a large pot. Pour in your soybean puree. Stir and squeeze to extract as much milk as possible. This step may require a bit of muscle!
Additional Straining: Rinse the leftover pulp with the remaining water and strain again to yield even more milk.
Cooking the Soy Milk: In a saucepan, heat the strained soy milk over medium-high heat. Add the pandan leaf for flavor. Keep stirring frequently to avoid burning. Just as it starts bubbling, lower the heat and simmer for about 20-30 minutes for the flavors to meld wonderfully.
Season and Serve: Remove from heat. Stir in salt and sweetener to taste. You can enjoy it warm or cold—both are delicious!
Chef’s Tip: If you want your soy milk super creamy, consider blending a little less water initially during blending for a thicker base.
Expert Tips & Tricks
Storage: Let your soy milk cool completely before pouring it into an airtight container. It will keep in the refrigerator for about 3-5 days. Always shake before use as it may separate.
Make-Ahead: You can soak and prepare the soy milk a day in advance, so it’s ready to use whenever you like—perfect for busy mornings!
Troubleshooting: If your soy milk tastes bitter or grainy, it might be due to under-soaking the beans or not straining well enough. Make sure to soak them long and squeeze that milk well!
Experimentation Time: Once you get the hang of this recipe, try adding natural flavors like vanilla extract, cocoa powder, or even matcha for different versions.
Serving Suggestions
Serve your homemade soy milk chilled or warmed up with a sprinkle of cinnamon for a cozy drink. Pair it with homemade banana bread or a piece of decadent chocolate cake for a delightful treat!
For a more festive setting, why not pour it into charming glass mugs and add colorful boba pearls for a frothy bubble tea experience? Perfect for gatherings, leisurely brunches, or any time you’re craving comfort food.
Variations & Substitutions
Flavor Combinations: Try adding cocoa powder for a chocolatey twist, or blend in vanilla extract for a classic sweet flavor.
Dietary Adaptations: If you’re gluten-free, always ensure any sweeteners or add-ins are certified gluten-free. Swap in any nut milks for unique flavors or experiment with other legumes like chickpeas for a different protein source.
Seasonal Variations: Don’t shy away from seasonal flavors! In the fall, a touch of pumpkin spice gives a festive touch, while fresh fruits or herbs can brighten up your soy milk in the summer months.
Nutrition & Storage Info
- Prep Time: 8 hours (soaking) + 30 minutes (preparation)
- Cook Time: 30 minutes
- Total Time: Approx. 8 hours and 30 minutes
- Yield: Approximately 5 cups (1.2 liters)
- Estimated Calories: About 100 calories per cup (without add-ins)
- Storage Instructions: Store in an airtight container in the fridge for 3-5 days, never leaving at room temperature for long periods.
FAQ Section
Can I make soy milk without soaking the beans?
- You can make soy milk without soaking, but it will yield a less creamy consistency. Soaking helps soften the beans for a smoother blend!
What do I do with the leftover soybean pulp?
- Don’t throw it out! You can add it to smoothies, use it in baking, or even as a high-protein addition to soups.
How can I make soy milk taste sweeter?
- Experiment with different sweeteners, like honey, agave, or maple syrup. Start with a little, and adjust to your taste!
Why do I need to strain the soy milk?
- Straining removes the fibrous pulp and results in a smoother drink. It’s essential for that creamy texture we all love!
Is homemade soy milk safe to drink?
- Yes! Provided you follow this recipe and cook it adequately, homemade soy milk is safe and nutritious.
Can I freeze soy milk?
- Yes, but the texture might change slightly. If you do, make sure to keep it in an airtight container. Thaw in the fridge and shake well before using.
What if I don’t have pandan leaves?
- No worries! You can skip it or replace it with a vanilla pod for a different flavor profile.
How long does soy milk last?
- Homemade soy milk will last about 3-5 days in the refrigerator. Always check for smell and taste it before using.
Can I use frozen soybeans?
- Yes, but you may want to soak them longer. Just ensure they’re fully thawed before blending.
Is soy milk good for kids?
- Absolutely! It’s a great source of nutrition. Just ensure to add a little sweetness if they prefer a milder flavor.

Conclusion
Making homemade soy milk is not just about the drink; it’s about embracing tradition, creativity, and the joy of cooking. With this delicious recipe, you’re not just creating a beverage—you’re building memories and making mealtime special.
I encourage you to give this a try; it’s easier than you think and incredibly rewarding! And if you do, I would love to hear how it turns out for you. Feel free to drop your feedback in the comments!
For more delicious recipes that will delight your taste buds, check out my blog for an array of plant-based dishes you can easily whip up at home!
Creamy Homemade Soy Milk
Ingredients
Method
- Rinse your soybeans thoroughly under cold water. Soak whole beans in a large bowl of water for at least 8 hours, or split beans for about 3 hours.
- Remove some of the soy skin by scrunching the soaked beans in water, if using whole beans.
- Drain and rinse your soaked soybeans. In a blender, combine the beans with just enough water to cover them. Blend until smooth and creamy.
- Set up a sieve or colander lined with muslin over a large pot. Pour in your soybean puree. Stir and squeeze to extract as much milk as possible.
- Rinse the leftover pulp with the remaining water and strain again to yield even more milk.
- In a saucepan, heat the strained soy milk over medium-high heat. Add the pandan leaf for flavor. Stir frequently to avoid burning.
- Just as it starts bubbling, lower the heat and simmer for about 20-30 minutes.
- Remove from heat and stir in salt and sweetener to taste.
- Enjoy it warm or cold—both are delicious!