
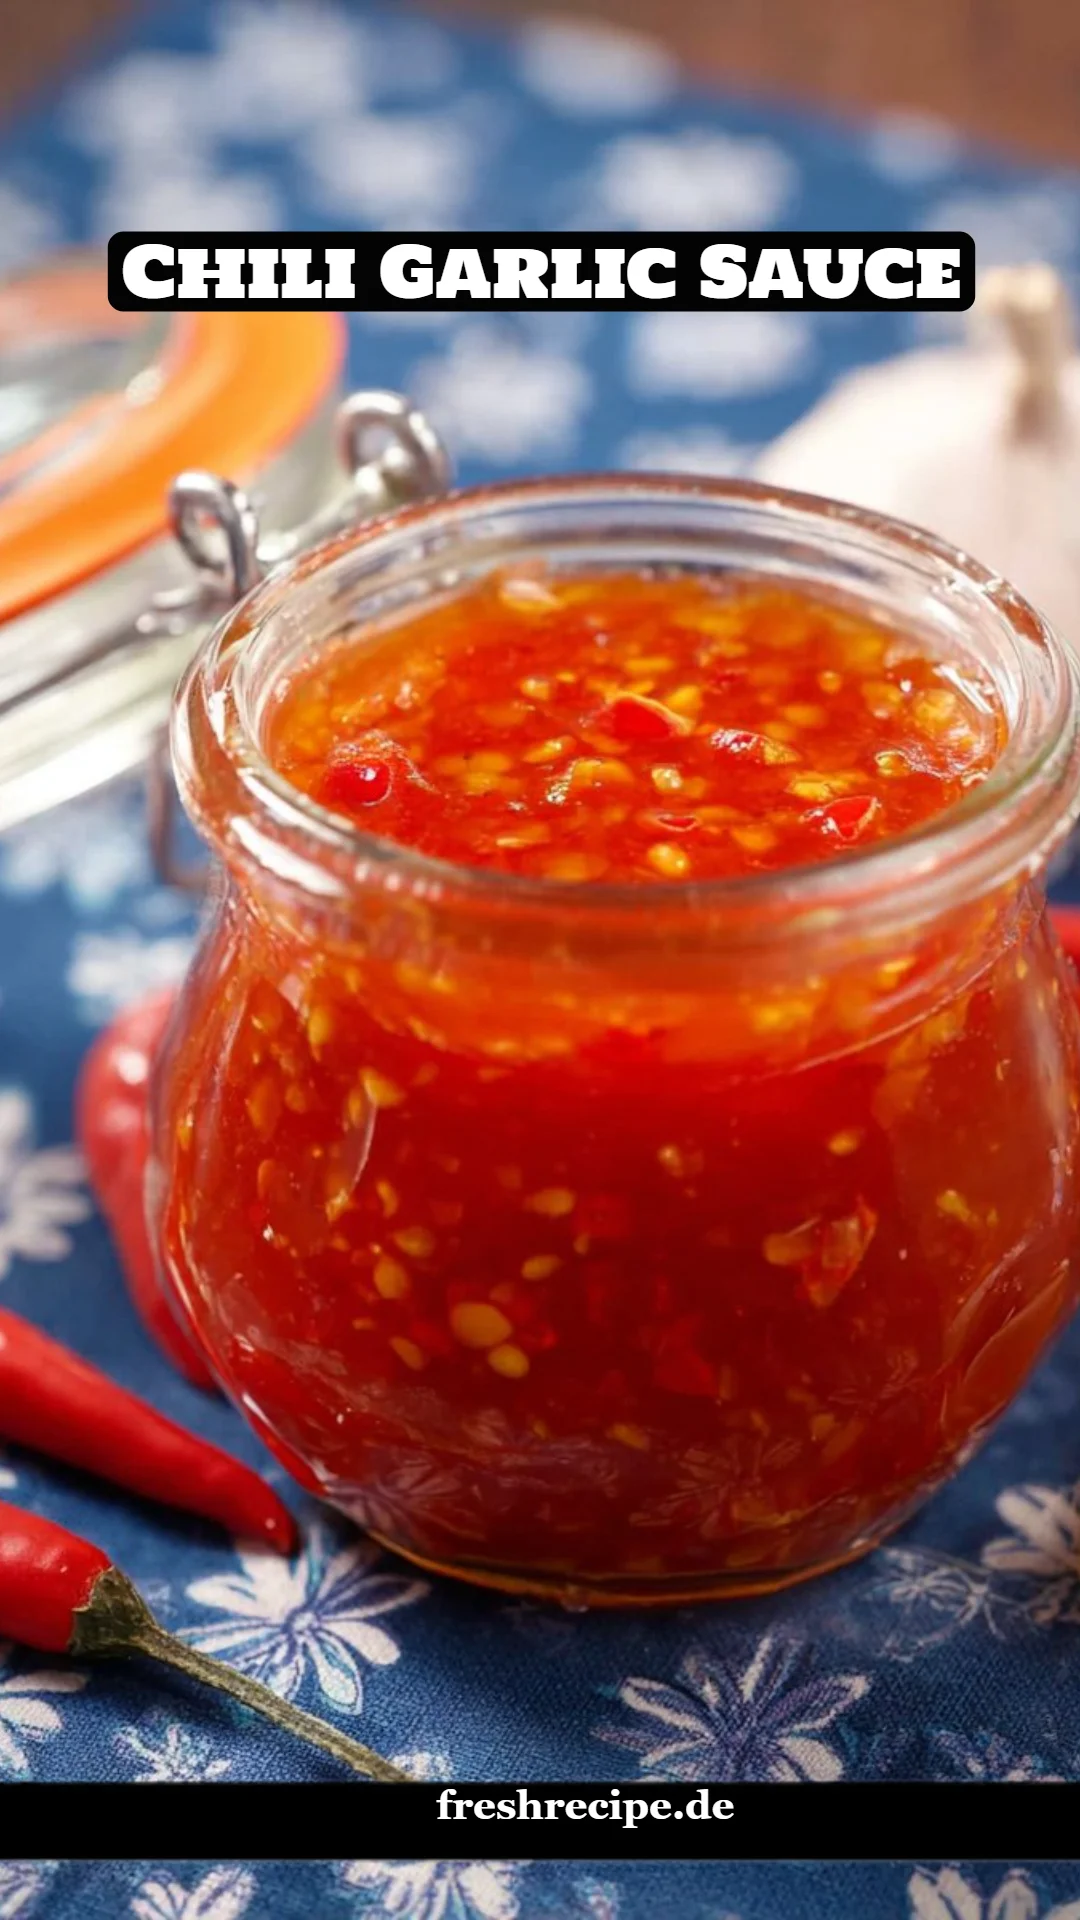
Spicy Bliss: The Ultimate Homemade Chili Garlic Sauce Recipe
The first time I dipped my fried spring roll into a fiery, sweet, and tangy chili garlic sauce at a local Thai restaurant, I was instantly transported to flavor heaven. If you’ve ever experienced that moment, you know exactly what I’m talking about! The zingy burst of garlic with a kick of heat, that sauce was pure joy on my taste buds. From that day forward, I dreamed of recreating that magical flavor at home. After countless trials and errors in my kitchen, I finally perfected my very own recipe for chili garlic sauce.
What makes this chili garlic sauce recipe truly special? Unlike the store-bought options laden with preservatives, this homemade version is all about fresh ingredients and vibrant flavors. Plus, it’s incredibly easy to whip up, making you the culinary hero of your household! My family made it a tradition to have spicy dishes on Fridays, with my homemade sauce as a staple on the table—easy comfort food we all crave.
In this post, I’ll share with you how to create your very own chili garlic sauce, packed with personality and pizzazz. Get ready to embrace that spicy love, add a kick to your meals, and enjoy the smiles from your family as they dig into their plates. Your taste buds are in for a treat!
What is Chili Garlic Sauce?
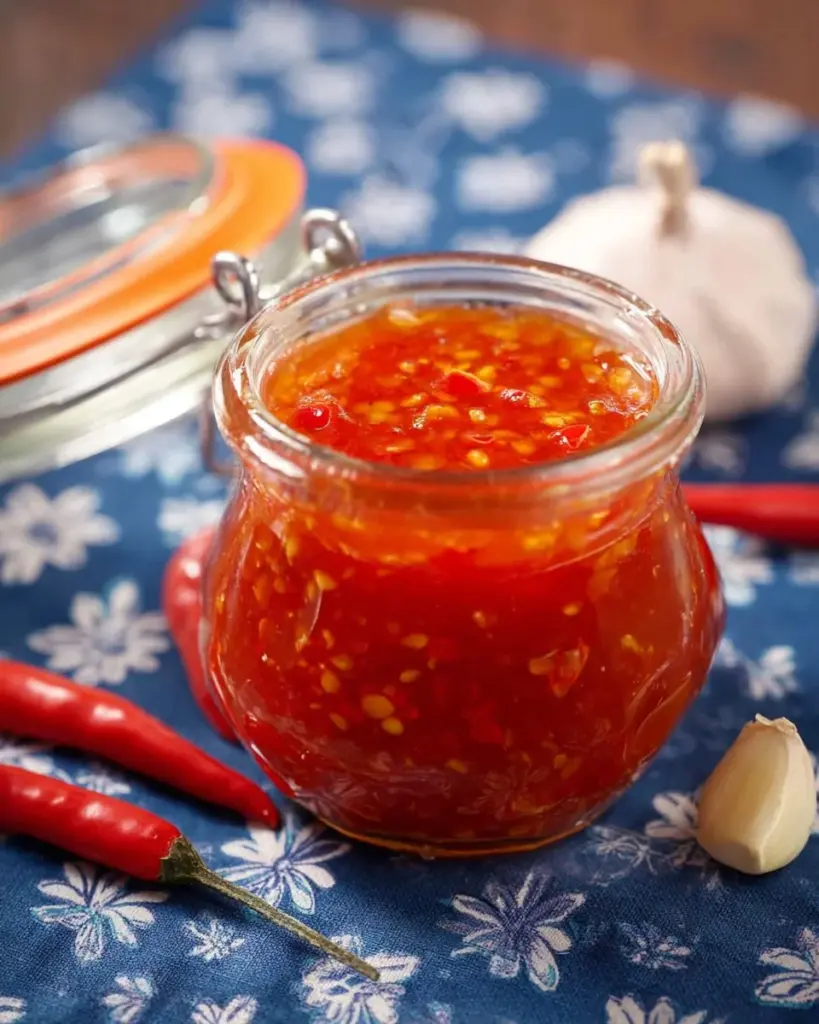
Chili garlic sauce has its roots in Southeast Asian cuisine, particularly treasured in countries like Vietnam, Thailand, and China. This vibrant sauce often highlights the bold flavors that characterize the region, featuring fiery chilis and aromatic garlic. The moment you open a jar of homemade chili garlic sauce, a dazzling mix of pungent garlic and piquant chili fills the air—it’s impossible not to get excited about it!
The taste is a delightful balance of heat, sweetness, and tanginess, while the texture is chunky yet smooth, making it versatile for various recipes. This sauce isn’t just for dipping; it can elevate your stir-fries, marinades, and even your everyday dishes.
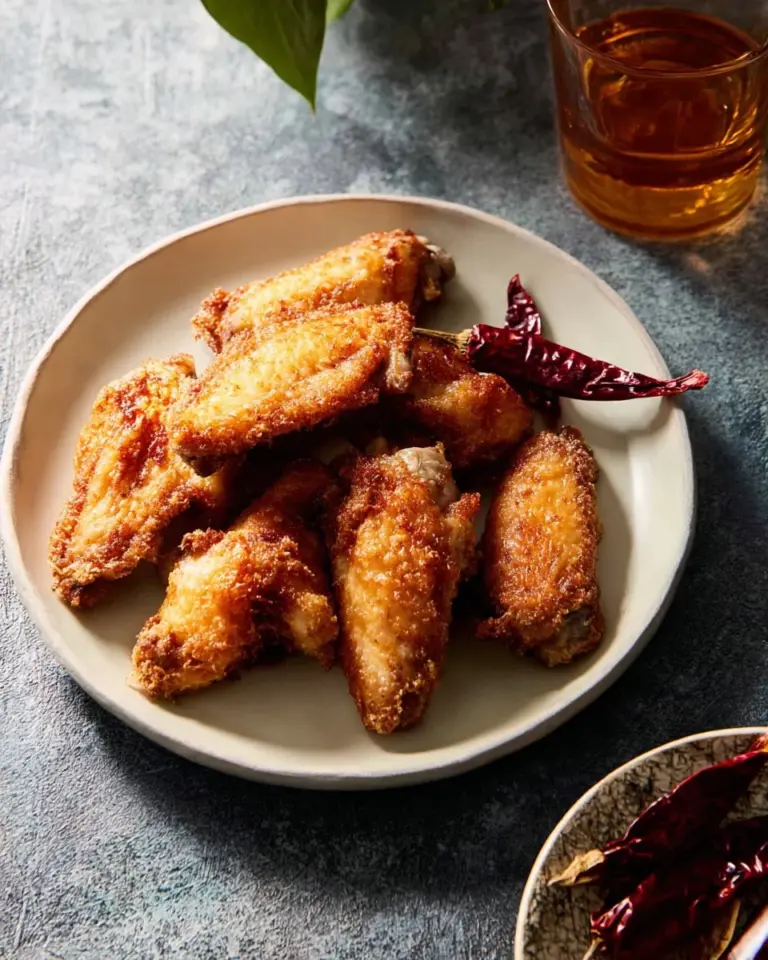
Whether you’re serving up some crispy fried chicken or drizzling it over a bowl of rice, chili garlic sauce is a gentle push towards flavor exploration. It’s the perfect companion for family gatherings, BBQ nights, or even a simple weeknight dinner—a reminder that good food creates lasting memories.
Why You’ll Love This Recipe
Freshness is Key: Unlike many commercial brands, this homemade chili garlic sauce bursts with fresh flavors. You control what goes in, making it cleaner and healthier.
Budget-Friendly: Why spend money on overpriced jars when you can make a big batch at home? With simple ingredients and minimal prep, you’ll save both time and money.
Customization Options: Feel free to adjust the heat level. Want it spicier? Add more Thai chilies. Prefer it sweeter? Just increase the sugar. The choice is yours!
Family-Friendly: This recipe invites even the notorious non-spicy eaters to try new things. It’s mild enough to appeal to every palate yet still packs a punch of flavor in each bite.
Quick Preparation: You can whip this up in about 20 minutes! It’s a no-fuss recipe that’s perfect for busy weeknights or when you want to impress unexpected guests.
What’s the best part? Once you’ve tackled this easy recipe, you’ll find endless uses for this versatile sauce that will elevate your culinary game to new heights.
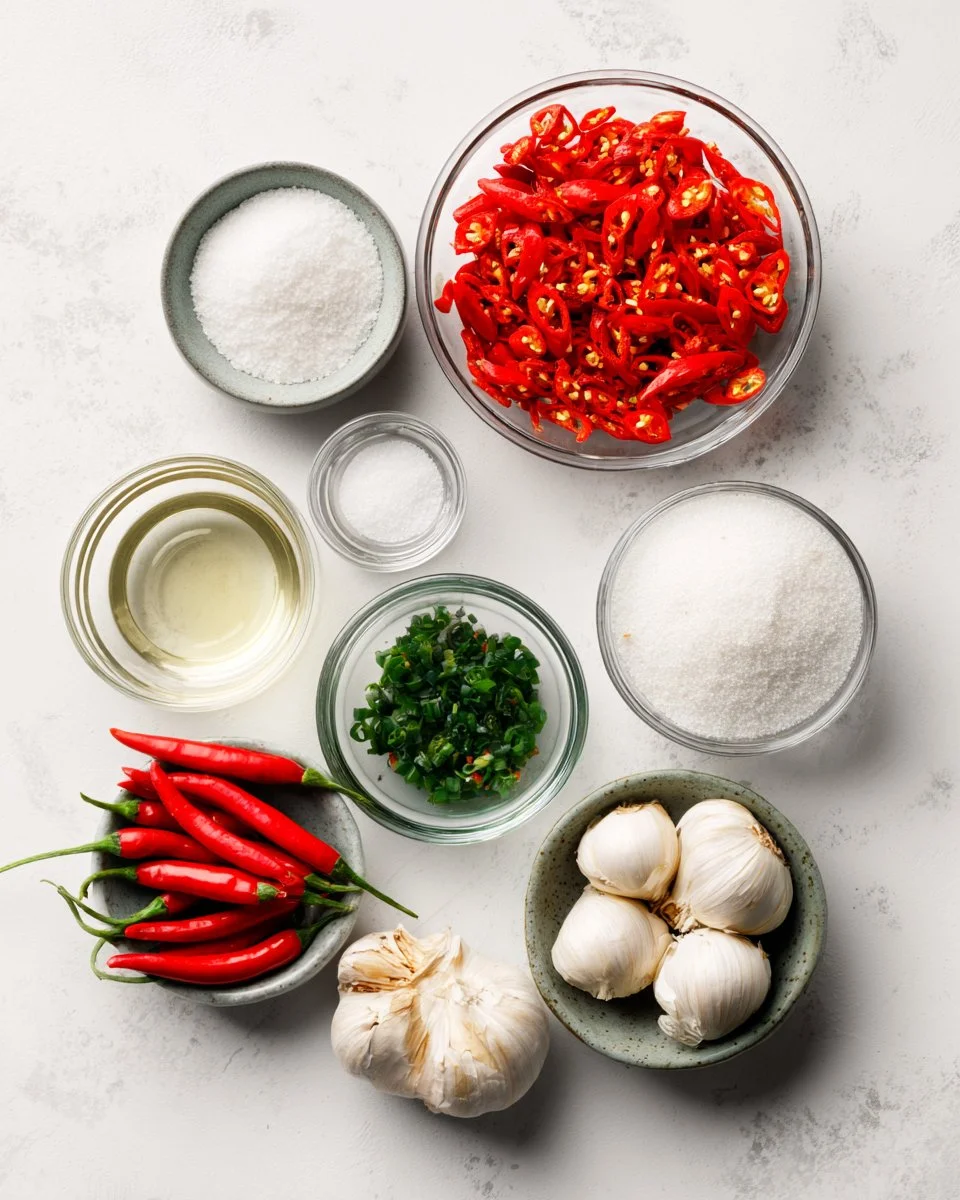
Ingredients Section
- 1 cup medium/mild red chilies, chopped (I recommend using fresher chilies for better flavor, look for vibrant, glossy skin)
- 1-3 Thai chilies, or to taste (Adjust according to your heat preference—Thai chilies pack more heat!)
- 8 cloves garlic, smashed (Fresh is best. If possible, use organic garlic for a richer flavor)
- 1 cup sugar (Granulated white sugar works perfectly, but you can also use palm sugar for a different flavor)
- 1/3 cup water (Filtered water is preferred, but tap water works fine)
- 3/4 cup white vinegar (I use distilled vinegar for a clean taste, but apple cider vinegar could add a nice twist)
- 1 1/2 teaspoon fine grain salt (Kosher salt can be used, too)
- 1 tablespoon tapioca starch dissolved in 3 tablespoons water or cornstarch (This will help stabilize the sauce and give it a nice consistency)
Prep notes: Ensure your ingredients are at room temperature. If you’re using tapioca starch, make sure it’s fully dissolved before adding to the sauce.
Step-by-Step Instructions
Blend the Base: In a food processor, combine the chopped red chilies, Thai chilies, smashed garlic, and water. Blend until it becomes a thick, slushy consistency—this should take about 30 seconds to a minute. Remember, we aren’t going for a completely smooth puree; we want some texture!
In the Pot: Transfer the chili-garlic mixture to a heavy-bottomed pot—this minimizes the risk of burning during cooking.
Simmer Away: Add sugar, vinegar, and salt. Stir to combine, and bring the mixture to a simmer over medium heat. Keep stirring until the sugar dissolves, which will take about 2-3 minutes.
Watch the Bubble: Allow it to simmer for an additional 5 minutes, brushing down the sides of the pot with water if any sugar starts to brown. This step ensures a clean flavor.
Thickening Time: Once done simmering, take a minute to enjoy the aroma (your kitchen is about to smell incredible!). Slowly add the tapioca slurry while stirring constantly. Keep stirring for about 2-3 minutes until the mixture starts to boil and thickens slightly.
Taste for Perfection: Remove from heat, taste it, and adjust the seasoning as desired. This is your creation, so make it yours!
Cool and Store: Carefully transfer the sauce into a clean jar and let it cool completely before sealing. Store your sauce in the fridge, where it can last for months.
And there you have it—an amazing homemade chili garlic sauce ready to elevate any dish!

Expert Tips & Tricks
Quality Ingredients: Choose fresh, ripe chilies and organic garlic when possible for maximum flavor impact.
Storage: Store your sauce in airtight glass jars. It can stay in the fridge for up to 6 months, but I doubt it will last that long because it’s so delicious!
Make-Ahead: This sauce can be made a day or two in advance, allowing the flavors to meld beautifully. Just give it a stir before using.
Adjust Seasoning: Feel free to play with vinegar and sugar ratios based on your taste. A little experiment never hurt anyone!
Common Mistakes: Avoid high heat when simmering—if you’re in a rush, it’s better to take your time. A gentle simmer is key to achieving that perfect flavor.
Troubleshooting: If the sauce turns out too thick, simply add a splash of water to reach your desired consistency.
Serving Suggestions
This spicy chili garlic sauce is perfect for pairing with various dishes. I love drizzling it over crispy fried chicken, slathering it on grilled vegetables, or even using it as a marinade for fish. You can also jazz up your stir-fries, tacos, or ramen bowls with spoonfuls of this bright sauce.
For a fun presentation, consider serving it in a small bowl alongside a platter of fresh spring rolls, creating a beautiful and interactive feast. Don’t forget to use this sauce during your next BBQ—it will surely steal the show!
Variations & Substitutions
Different Heat Levels: If you prefer a milder flavor, consider using bell peppers and reducing the Thai chili count. For those who love extreme heat, incorporate ghost peppers for a bold twist!
Dietary Restrictions: If you’re aiming for a low-sugar option, try using a sugar substitute like monk fruit sweetener. Just be cautious with ratios—it’s usually sweeter!
Seasonal Adaptation: As harvest seasons change, feel free to adjust the chilies based on local availability—Farmers’ markets are a fantastic source for unique varieties.
Nutrition & Storage Info
- Prep Time: 10 minutes
- Cook Time: 10 minutes
- Total Time: 20 minutes
- Yield: About 1.5 cups (approximately 12 servings)
- Estimated Calories: 40 calories per tablespoon
- Storage: Refrigerate for up to 6 months. It will maintain its flavor in glass jars. If any signs of spoilage appear, discard.
FAQ Section
Can I use dried chilies instead?
Yes! Soak them in warm water for a few hours before blending for a different flavor profile.What can I substitute for sugar?
You can use honey, maple syrup, or other sweeteners, but remember to adjust the quantities to taste.How spicy is this recipe?
The spice level is adjustable! Use fewer Thai chilies for a milder version, and taste as you go.Can I freeze this sauce?
Yes, you can freeze it in an airtight container for several months, but the texture may change slightly after freezing.Is chili garlic sauce vegan?
Absolutely! All the ingredients are plant-based.What’s the best way to use it?
Drizzle it on grilled meats, use it as a dipping sauce, or toss it into stir-fries for some heat!Can I add other spices?
Definitely! Experiment with cumin, paprika, or fresh herbs like cilantro for an extra flavor twist.What do I do if it gets too thick?
Just add a splash of water and stir until the desired consistency is reached.Can this sauce be used as a marinade?
Yes! It makes a fantastic marinade for chicken, tofu, or vegetables.Why is my sauce too salty?
If you accidentally added too much salt, mix in a little sugar to balance the flavors.
Conclusion
In a world filled with varying levels of spice, my homemade chili garlic sauce stands out as a true gem. It’s not just about the heat; it’s about enhancing every meal and creating memorable moments at the dinner table.
So why not dive in and try making your own batch? I can’t wait to hear how it turns out for you! Share your experiences, feedback, or any tweaks you made in the comments below. For more delightful recipes like this, check out my blog—there’s always a new favorite waiting for you!
Chili Garlic Sauce
Ingredients
Method
- In a food processor, combine the chopped red chilies, Thai chilies, smashed garlic, and water. Blend until it becomes a thick, slushy consistency—this should take about 30 seconds to a minute.
- Transfer the chili-garlic mixture to a heavy-bottomed pot to minimize the risk of burning.
- Add sugar, vinegar, and salt. Stir to combine, and bring the mixture to a simmer over medium heat, stirring until the sugar dissolves (about 2-3 minutes).
- Allow it to simmer for an additional 5 minutes, brushing down the sides of the pot with water if any sugar starts to brown.
- Slowly add the tapioca slurry while stirring constantly for about 2-3 minutes until the mixture starts to boil and thickens slightly.
- Remove from heat, taste and adjust the seasoning as desired.
- Carefully transfer the sauce into a clean jar and let it cool completely before sealing. Store in the fridge.